Tuesday, March 27, 2012


This DIY sustainable jewelry project is for all of you sewing enthusiasts out there! Or maybe you love exploring your local thrift shop, garage sale, estate sale or must I say it again....Your Grandmother's attic can be the best treasure chest ever!


Today we are hunting for vintage spools of thread, buttons, snaps, fabric scraps, thimbles, etc...


Now that you've gathered all your treasures and trimmings, it's time to begin!

Gather Findings!


You'll need two headpins

String headpins through opposite sides of the button


Next, string button through the spool and add the other button to the opposite side. Align the button holes with the head pin wire and wrap one end of the wire around the other to tighten each in place.


 Drill a hole through the thimble and add your treasures to another piece of wire.

Arrange charms keeping in mind balance of color and weight


Wrap wire firmly to connect charms to the Necklace


 Voila! You've made a beautiful seamstress themed charm necklace! 


Saturday, March 10, 2012

DIY Vintage Button Necklace!

Hunting for vintage buttons at antique stores, The Red, White and Blue or in your Grandmother's attic, can be a whole lot of fun. The trick is, to put your intention to find the treasures of your dreams in motion, before you actually go out on your quest. It's the simple power of your imagination that propels the inner dream into your outer reality.  


So, you did it, you found your fancies!...Now, I will walk you through the steps for making your very own vintage button necklace. First things first...Choose a handful of vintage buttons from your new inventory. I like to go with a mix of complimentary colors, textures and materials when choosing my buttons. 


Choose Your Necklace

Closed Copper Wire
Colored Cable Chain
Open Copper Wire


Use Flexible Art Wire to String Buttons onto Necklace

Attach Button Snug to Necklace on Either Side 

 Turn Necklace Around to View Placement

Add Another Button

Turn Around Again to Make Any Adjustments

Add More Buttons and Rearrange placement if Needed 

 Backside of Finished Necklace

 Here's the Finished Piece!

The placement of the buttons on the necklace is fun to experiment with. As in the picture above, I like to align the buttons off to one side just a bit.

Eco-Epoxy Resin Jewelry Projects!

Epoxy resin is a type of glue used for many different purposes. It's also a magical modern jewelry making material. Sustainable jewelry enthusiasts enjoy using eco-epoxy resin in designs because it's an inexpensive, easy way to add dimension and color to cold connection jewelry pieces.


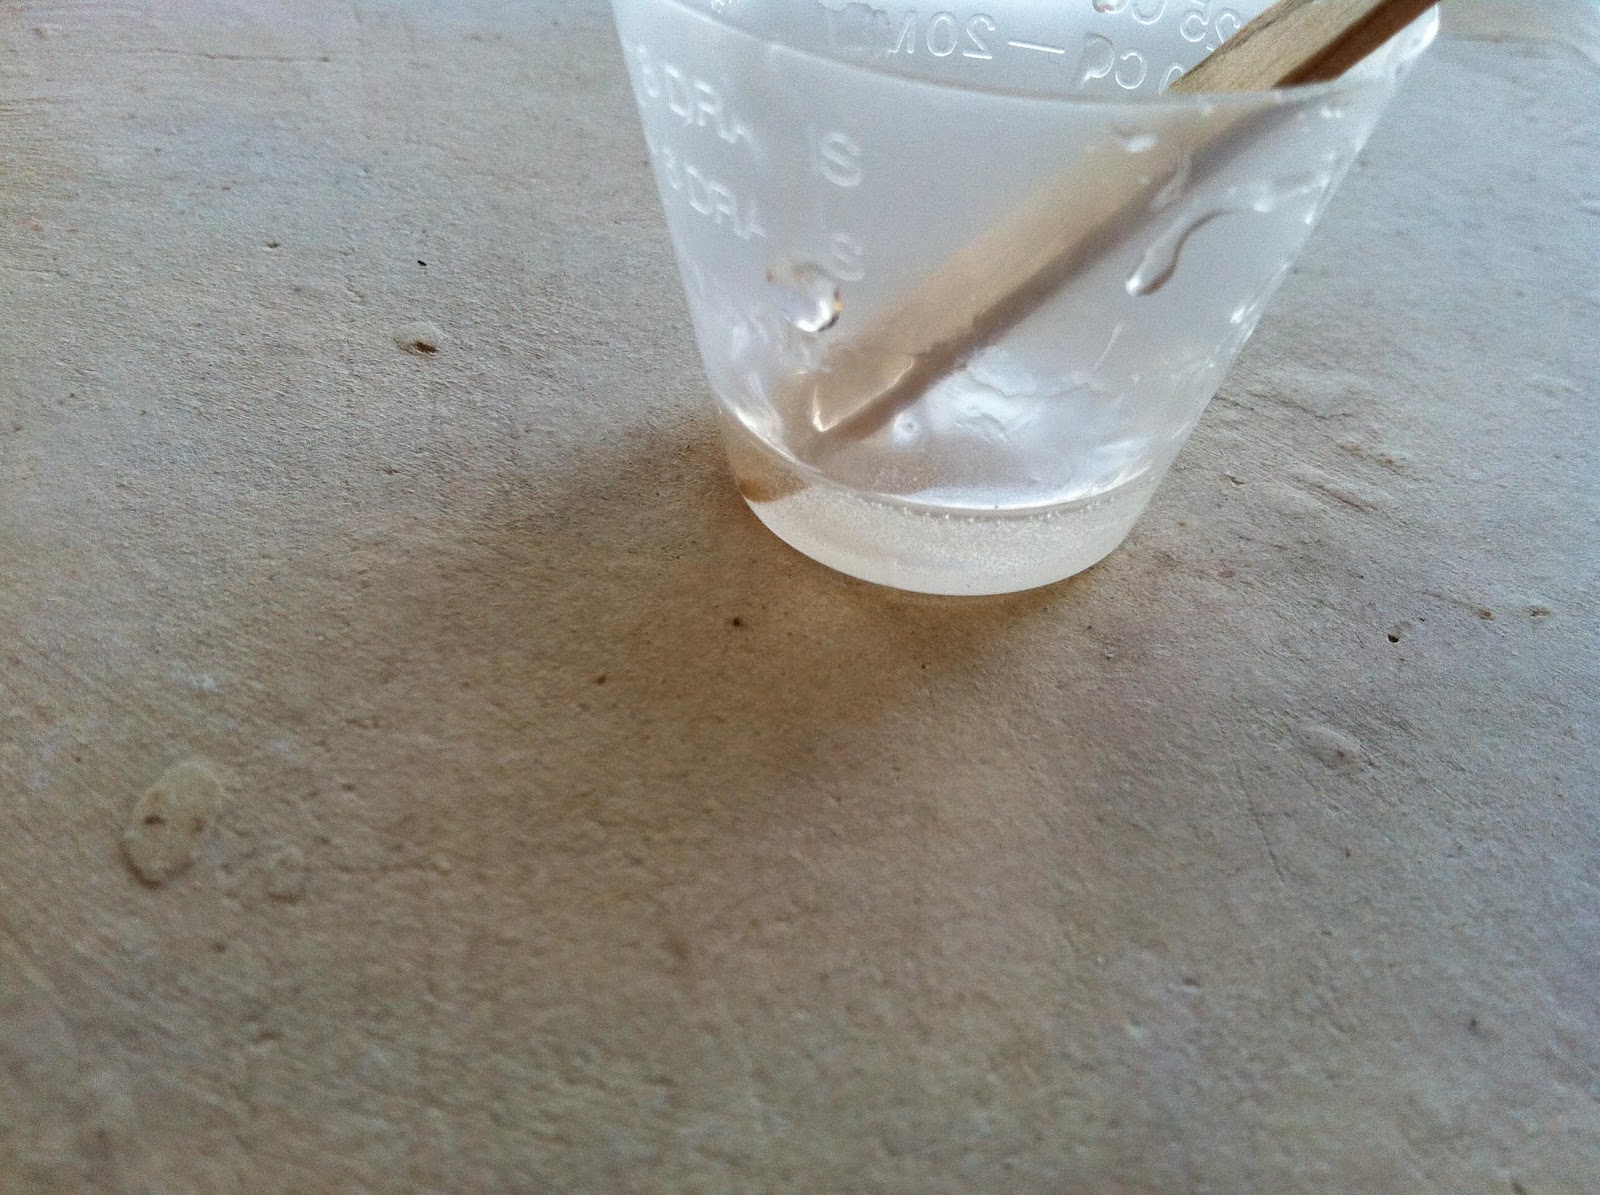
Read the instructions on the eco-epoxy resin manufacturer's package. Measure and mix the eco-epoxy resin exactly. Failure to mix exactly will result in problems with the resin curing and hardening.


 Use eco-resin to attach embellishments or jewelry findings to your pieces.


Use Eco-Resin To Fill Bezel


Arrange beads, small treasures, fabric, paper or other small ephemera to create a collage inside the bezel.  Pour the epoxy resin into the bezel until it covers all the items in your collage and domes over the top of the bezel. Allow the epoxy resin to cure for approximately 48 hours.


Remember Mix the eco-epoxy resin according to the manufacturer's instructions.  

Monday, February 27, 2012

The Art of Riveting!

Are you in the know when it comes to riveting? If you have a love for creating green jewelry, it's an awesome cold connection technique. Rivets are used to join materials that can't be soldered together or are otherwise fragile. They are commonly used decoratively or to create movement between two or more materials. Join me as I walk you through a step by step riveting tutorial.

First things first...Collect the treasures that you want to piece together. Decide how you would like your finished piece to look and choose the appropriate rivet type. There are several types of rivets. I will show you how to make a simple decorative tube rivet.


Colorful Tube Rivets


A tight fit is very important! Select a drill bit or punch that fits the rivet exactly. After your hole is drilled or punched, you can use a round file, reamer or scribe to enlarge the hole to the correct fit.

18.5 Gauge EuroPunch
Metal Clay is soft enough to use a punch.
Remember...Only file enough to create a tight fit!

Using a rivet hammer or a ball peen hammer, rest your piece on an anvil and spread the rivet by striking it on one side and then the other.


Strike the rivet evenly on each side until flush.


If the materials to be joined are soft or fragile, be sure to use a piece of felt or leather between your design and the hammer.


More metal clay rivets!


 Please use your imagination because the sky's the limit when it comes to variations on riveting techniques!


Welcome Sustainable Jewelry Enthusiasts!

Visit me each week as I walk you through the creating of a new DIY sustainable jewelry project. While some of the projects will be dreamed up by me , others will be borrowed from other green artists. I will always let you know my sources for materials, tools and ideas. Please let me know if you have any thoughts, tips or anything else you'd like to share.