Sunday, August 26, 2012

Creating Community Through Craft: Connection, Awareness and Social Change

This Fall I will be teaching a couple of jewelry classes here in Portland, Oregon in collaboration with Skillshare at the 100th Monkey Studio. The 100th Monkey Studio opened it's doors six years ago with the intention to create community, through an open studio model, which gives every human being interested in art a place to come create. To read more about the inspiration behind their business name go to:http://the100thmonkeystudio.com/our-story.html.

I was introduced to Skillshare by fellow artist Christine Claringbold, http://www.etsy.com/shop/eyepopart, whom I took an Etsy Selling Class from a few years back. Inspired by Skillshare's mission to encourage people with passions in a particular subject to teach others what they love, I joined the Portland Skillshare teaching community. Be curious, read more about the Skillshare manifesto: http://www.skillshare.com/about/manifesto

Please join me this Fall, as I embark on an exciting teaching journey. If you or someone you know are interested in learning more about sustainable jewelry making techniques and/or practices, my classes may be of interest. All are welcome and encouraged to come with an open mind, curiosity of spirit and a willingness to share in this experience with myself and other. 

You can explore my Skillshare classes here:

http://skl.sh/T3KC17 and  http://skl.sh/T3LOBy

Thursday, August 16, 2012

Metal Clay Impressions: Texture, Shape and Color

 Use stamps, stencils, or other textured objects to create unique impressions in your Metal Clay Pieces.
 Choose a theme for your piece and let that inform your process as you cut out, shape and create your piece.
I began with a heart theme,  using texture, shape and mixed metals to create the above pieces.

Saturday, April 28, 2012

Chalkboard Pendant!

This pendant was inspired by Marti Emmons of CocoDelay Inc. She shared her recent chalkboard jewelry collection with me entitled, 'CoCo Lingo'. Here's my attempt at creating my own chalkboard jewelry creation.


Choose desired circle punch and material. I chose a sheet of cork board although wood is another good option.

Paint the circle with chalkboard paint and let dry.


Use white ink and X stamp and let dry. Add small tube rivet at the top where the jump ring will be placed. Add large tube rivet next to the X.


Place the round cork piece on top of a square shaped metal piece, using your metal punch and round file to hollow out and shape the inside of the rivets. Use a hammer on each side of the rivet to securely attach the cork to the metal.

Red, White & Blue Statement Necklace!


 Inspired by Jewelry Designer Brehan Todd, I headed to the local Red, White & Blue to search for treasures to make a statement necklace. I found some really nice spring themed vintage chains and brooches for the project and headed to my studio to start creating.


My treasures...$1.50 each!


The chain that I chose was quite long and I wanted to create a choker style statement necklace, so I removed the original clasps and doubled the chain to the desired length. 


Set up your work space and choose tools.
Decide which treasures to use.


Remove clasps or other unwanted findings.
Attach clasps to create desired length.
This vintage brooch needed the pearls restrung and reattached with eco-resin.  
Remove the brooch pins and attach to the chain using eco-resin and/or a soldering tool.
Voila! A beautiful Spring vintage choker style statement necklace!


Tuesday, March 27, 2012


This DIY sustainable jewelry project is for all of you sewing enthusiasts out there! Or maybe you love exploring your local thrift shop, garage sale, estate sale or must I say it again....Your Grandmother's attic can be the best treasure chest ever!


Today we are hunting for vintage spools of thread, buttons, snaps, fabric scraps, thimbles, etc...


Now that you've gathered all your treasures and trimmings, it's time to begin!

Gather Findings!


You'll need two headpins

String headpins through opposite sides of the button


Next, string button through the spool and add the other button to the opposite side. Align the button holes with the head pin wire and wrap one end of the wire around the other to tighten each in place.


 Drill a hole through the thimble and add your treasures to another piece of wire.

Arrange charms keeping in mind balance of color and weight


Wrap wire firmly to connect charms to the Necklace


 Voila! You've made a beautiful seamstress themed charm necklace! 


Saturday, March 10, 2012

DIY Vintage Button Necklace!

Hunting for vintage buttons at antique stores, The Red, White and Blue or in your Grandmother's attic, can be a whole lot of fun. The trick is, to put your intention to find the treasures of your dreams in motion, before you actually go out on your quest. It's the simple power of your imagination that propels the inner dream into your outer reality.  


So, you did it, you found your fancies!...Now, I will walk you through the steps for making your very own vintage button necklace. First things first...Choose a handful of vintage buttons from your new inventory. I like to go with a mix of complimentary colors, textures and materials when choosing my buttons. 


Choose Your Necklace

Closed Copper Wire
Colored Cable Chain
Open Copper Wire


Use Flexible Art Wire to String Buttons onto Necklace

Attach Button Snug to Necklace on Either Side 

 Turn Necklace Around to View Placement

Add Another Button

Turn Around Again to Make Any Adjustments

Add More Buttons and Rearrange placement if Needed 

 Backside of Finished Necklace

 Here's the Finished Piece!

The placement of the buttons on the necklace is fun to experiment with. As in the picture above, I like to align the buttons off to one side just a bit.

Eco-Epoxy Resin Jewelry Projects!

Epoxy resin is a type of glue used for many different purposes. It's also a magical modern jewelry making material. Sustainable jewelry enthusiasts enjoy using eco-epoxy resin in designs because it's an inexpensive, easy way to add dimension and color to cold connection jewelry pieces.


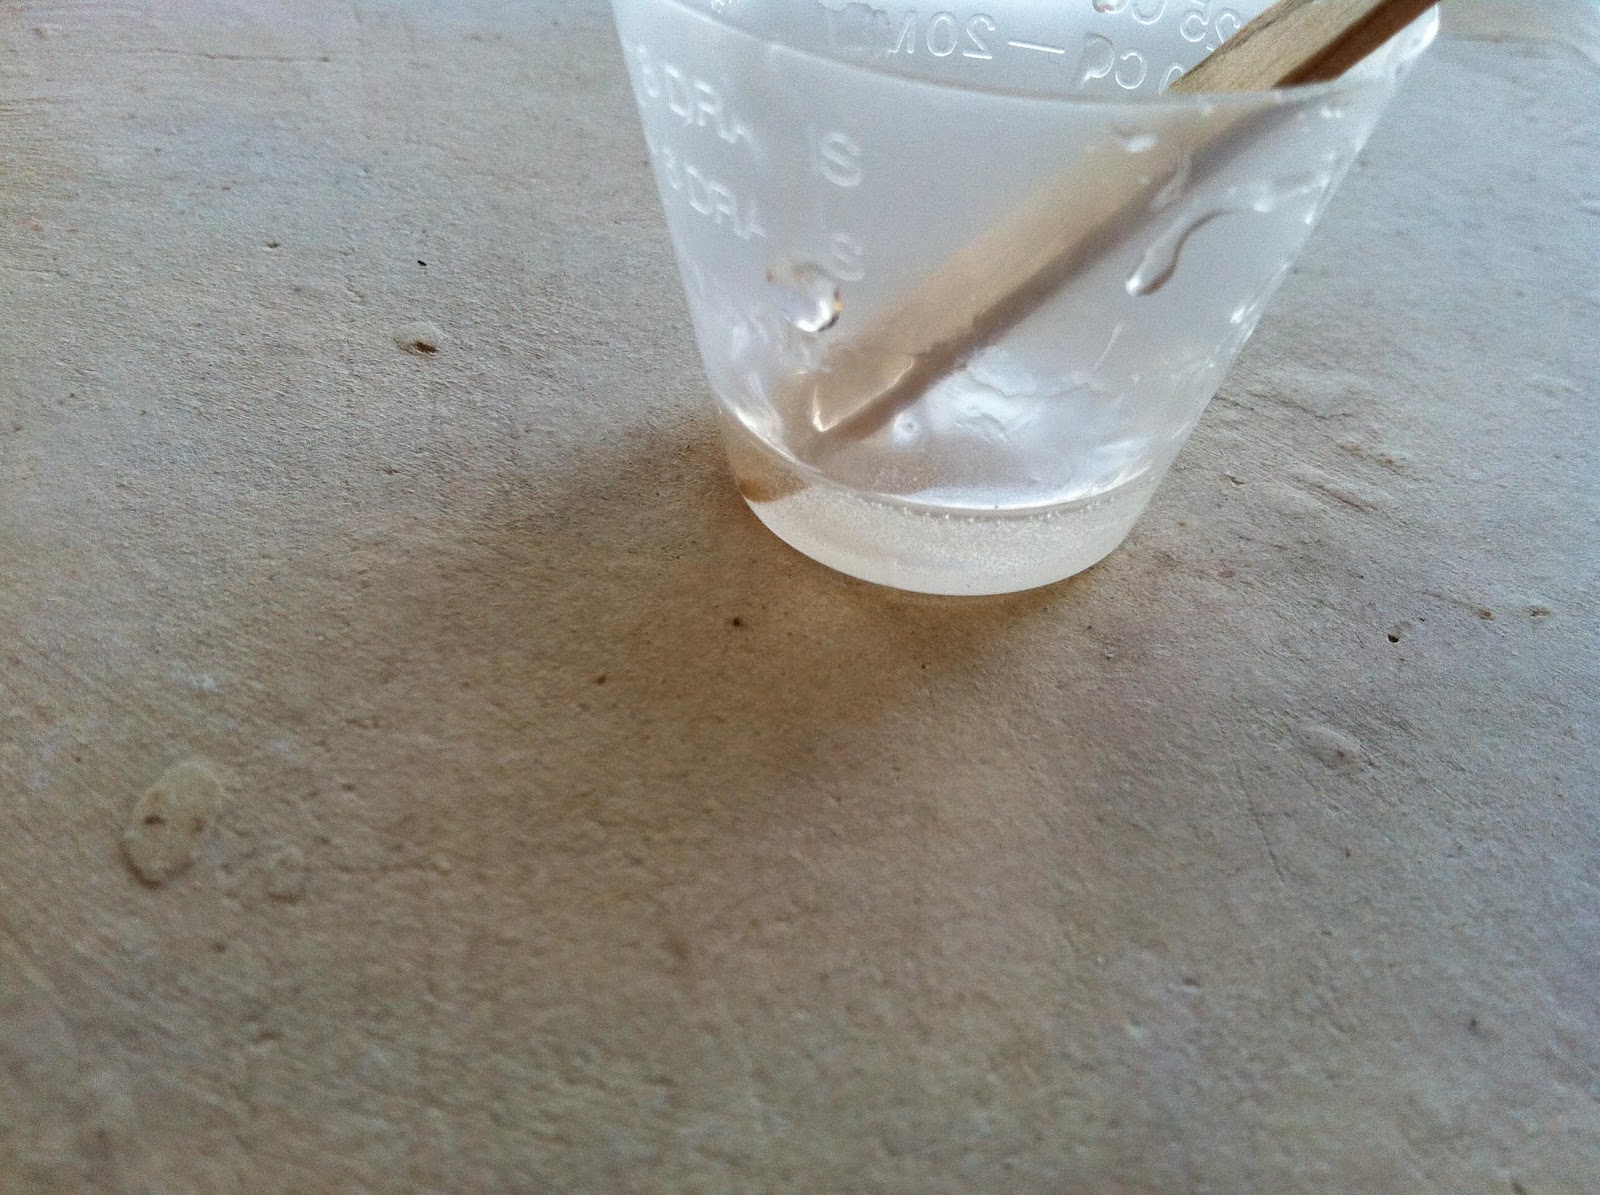
Read the instructions on the eco-epoxy resin manufacturer's package. Measure and mix the eco-epoxy resin exactly. Failure to mix exactly will result in problems with the resin curing and hardening.


 Use eco-resin to attach embellishments or jewelry findings to your pieces.


Use Eco-Resin To Fill Bezel


Arrange beads, small treasures, fabric, paper or other small ephemera to create a collage inside the bezel.  Pour the epoxy resin into the bezel until it covers all the items in your collage and domes over the top of the bezel. Allow the epoxy resin to cure for approximately 48 hours.


Remember Mix the eco-epoxy resin according to the manufacturer's instructions.